Tamaguino

Tamagotchi clone for Arduino developed by Alojz Jakob
and released for free under the GNU General Public License.

  • or support my work and
  • Buy Me a Coffee at ko-fi.com

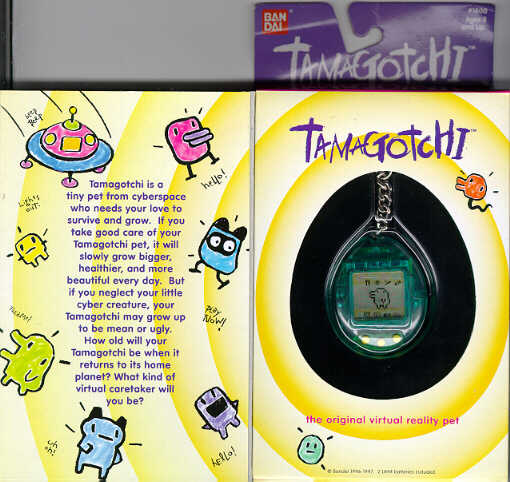
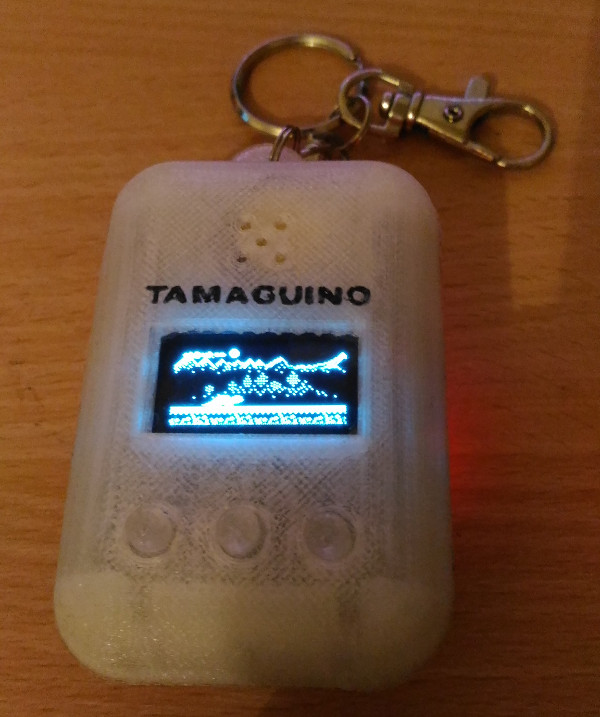
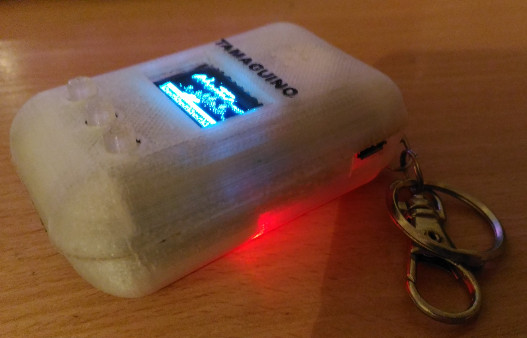
Why Tamagotchi clone?

When I was a kid and went to primary school, something happened.

Invasion of cool egg-shaped digital pets!

Everyone had one. Some had original Bandai toys, some had cheap chinese copies (which were better!)

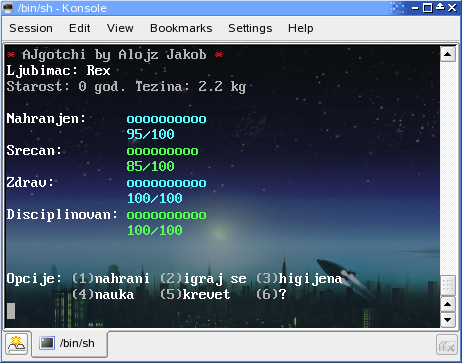
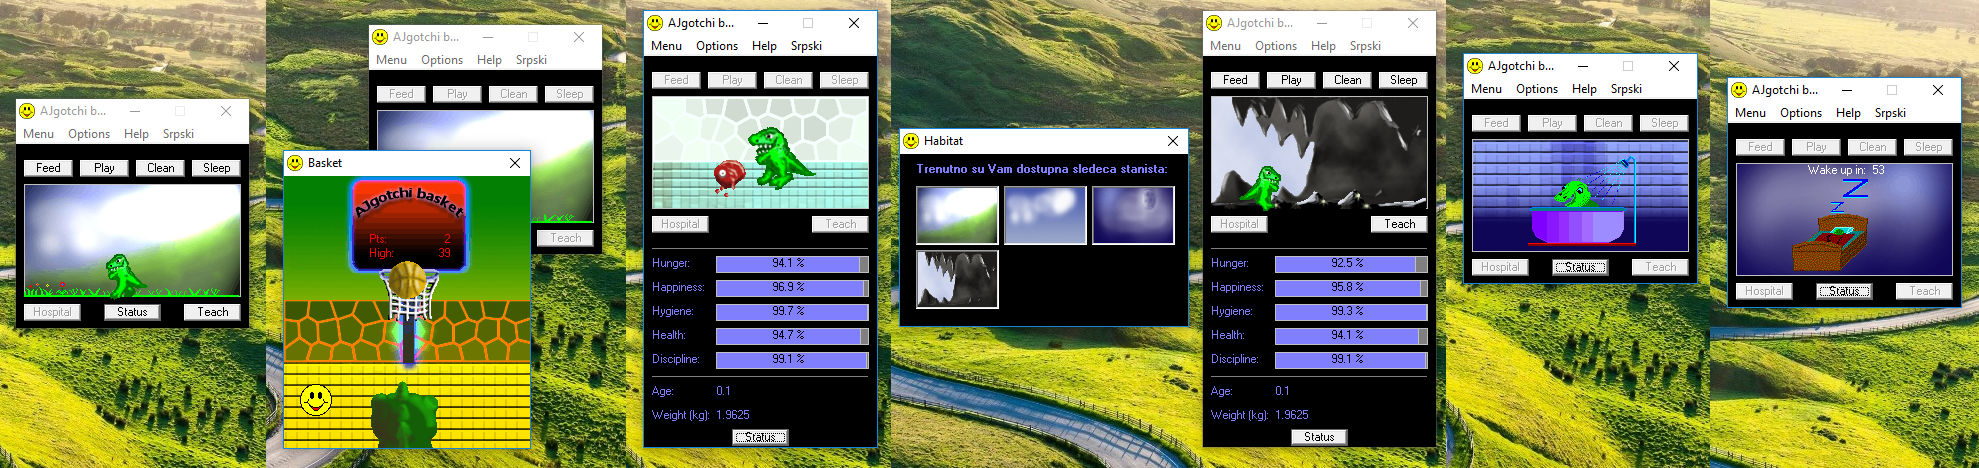
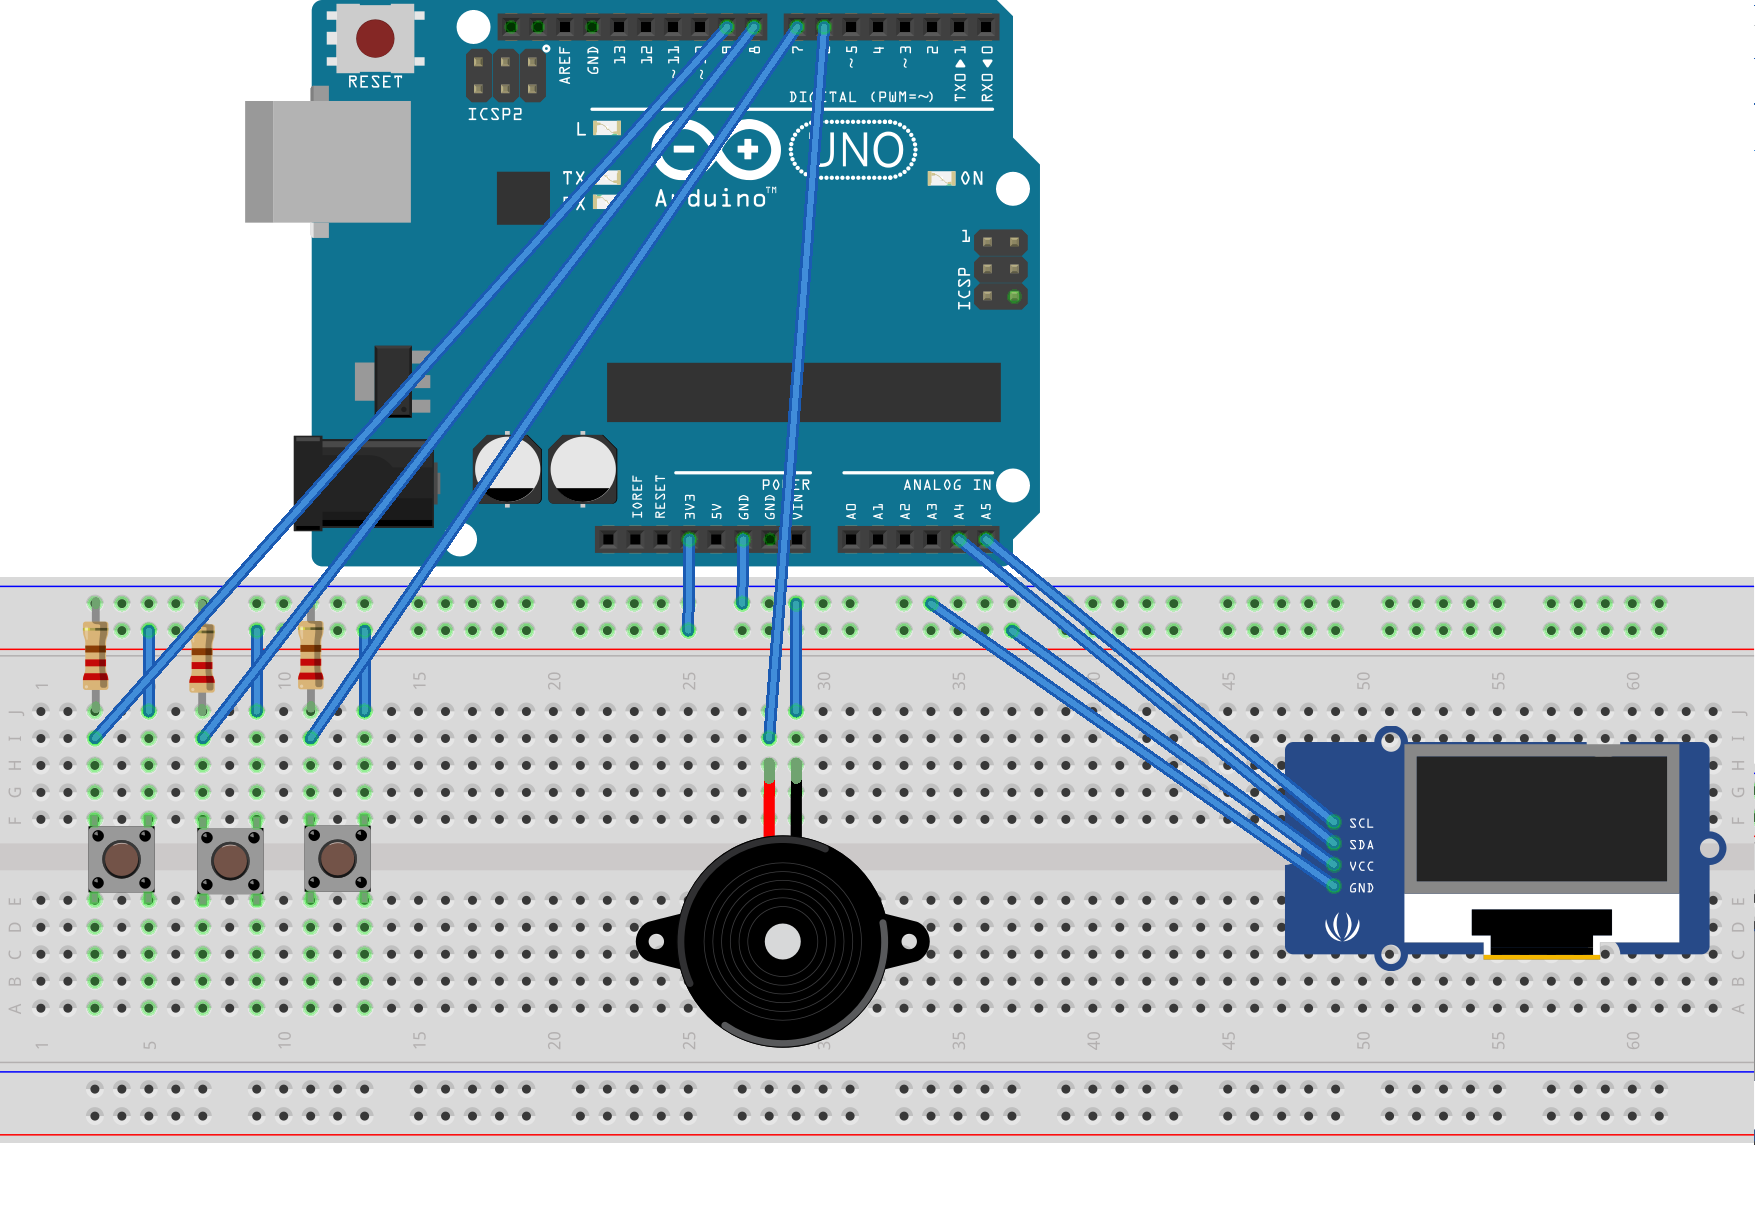
After some time I became interested in programming, and since then I was obsessed with building virtual pet of my own.

AJgotchi - Linux console application

At faculty we had an assignment to create C application that will work in Linux terminal. This was my first attempt to create a PC clone of this popular toy.

(Serbian language)

AJgotchi - Playing around in VB6

My second attempt to create Tamagotchi clone with some GUI. Just for fun :)

Tamaguino source

Source code is freely available on GitHub. You can download zip package or clone the repository.

Dependencies

Useful documentation and tools

Adafruit_SSD1306.h settings for your 128x64 display

Recent issue is that Adafruit libraries grown in size, and the Tamaguino code can't fit in the Arduino...
The solution is to downgrade the Audafruit_SSD1306 lib to 1.1.2, and downgrade the Audafruit GFX lib to 1.1.5,
After downgrading, it will upload to Arduino.
Solution to this is well explined in Guide by Thomas Fendrich.

Many of you using OLED for the first time asked me by email about the same issue. Tamaguino works but graphics is broken!

Issue is that in Adafruit_SSD1306.h default setting is to use this library with 128x32 displays, so you need to find your library file and modify it as follows:

#define SSD1306_128_64
//#define SSD1306_128_32
//#define SSD1306_96_16

instead of the default one:

//#define SSD1306_128_64
#define SSD1306_128_32
//#define SSD1306_96_16

Hardware

Breadboard wiring

In this example we will use Arduino UNO.

Note: on chinese Arduino UNO SCL and SDA lines may be positioned differently, please check pinout of your board.

On the image below you can see how your components should be wired if you use active HIGH for input and resistors:


without resistors, with active LOW:


Please use appropriate sketch from sources.

Parts list

Image Name Quantity
Arduino UNO 1
Breadboard 1
SSD1306 128x64 OLED display (I2C version) 1
Piezo buzzer 1
Push Buttons 3
10K Resistors 3
Some jumper wires 14

Advanced

Miniaturisation of your project

These are the components that you can use to replace Arduino UNO, breadboard, large piezzo speaker, and make it portable and powered with LiPo battery!

Image Name
Arduino Pro Mini, this one like on image is my favourite :)
4cm x 6cm prototyping PCB
LiPo rechargeable battery 720 mAh
Micro USB LiPo charging circuit
Piezo Buzzer - 12mm
Unofficial Arduino Pro Mini pinout
* refer to second video in Demo section to see components arrangement if you want to use custom Tamaguino case!

* More info about assembly can be found here: https://www.diyelectronics.co.za/wiki/#Arduino/Projects/Tamaguino/Tamaguino/
Only 3 differences between my original project and this are:
1. the piezo in original is above the screen, and it is a small flat piezo.
2. the LiPo battery, in my project i used small one which can fit below the arduino pro mini in the back, so everything fits inside a case.
3. placement of on/off switch, when you get your 3D printed case you will see where the switch should be.

Packaging

3D printable case

If you followed minification steps from above, your Tamaguino should fit inside this case!

3D printable case from Nick (educ8s.tv)

Since I am really not skilled in shooting videos, Nick from educ8s.tv YouTube channel did that and made his own version of Tamaguino!

Tamaguino for Arduboy

Ported and improved by Keyboard_Camper. Source code is freely available on GitHub.

Tamaguino for Arduino Mega - Tamaguino-Mega

Ported and improved by SandwichRising. Source code is freely available on GitHub.

Virtual Tamaguino - Tamagotchi Arduino Clone Mixed in VBB

Made by James Caska from http://www.virtualbreadboard.com/.

Demo

Breadboard


Standalone and battery powered


Arduboy by Keyboard_Camper


Great video from Nick!

Nick is a host at educ8s.tv YouTube channel which, by keeping it simple and with nice explanations, brings exciting world of tinkering and DIY to the masses.
Anyone can become a maker today!


Finished!

If you enjoyed creating this little project, you can support my work and Buy Me a Coffee at ko-fi.com :)

Discussion area

About me

My name is Alojz Jakob and I love to make things.

Some of my other personal projects


Contact